Recording
After having completed the necessary calibration, click on the Recording tab to switch the camera to recording mode.
HSI Line Camera Waterfall View
For HSI line cameras by default a waterfall view will be shown: the lines are added to the view from top to bottom, until the bottom has been reached, and then the view starts scrolling through:
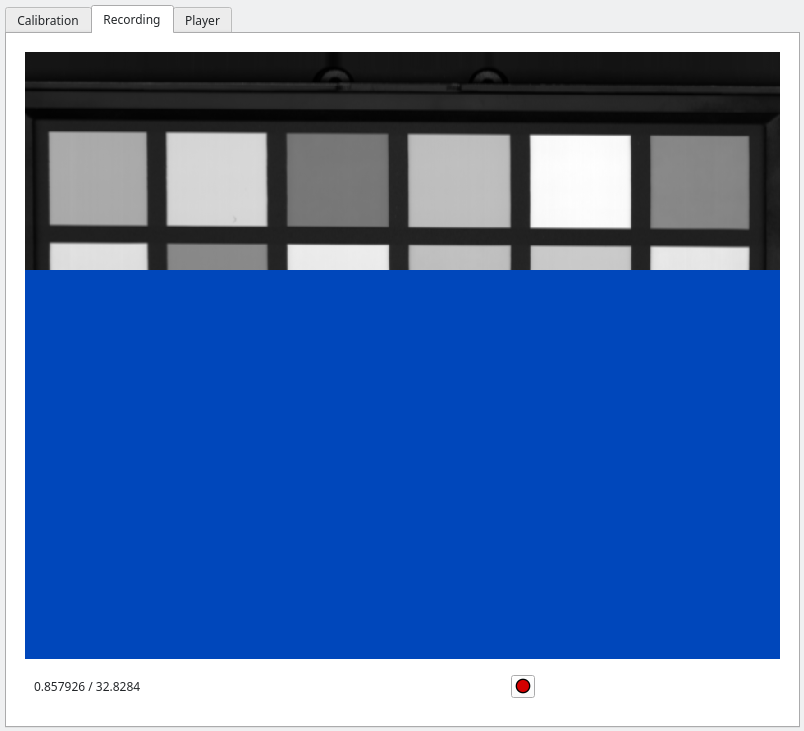
The brightness of each pixel is determined by the intensity of the camera for that spatial point, averaged over all wavelengths. The value scale is determined automatically. (To reset the automatic scale change back to the Calibration tab, and then change back to the Recording tab.)
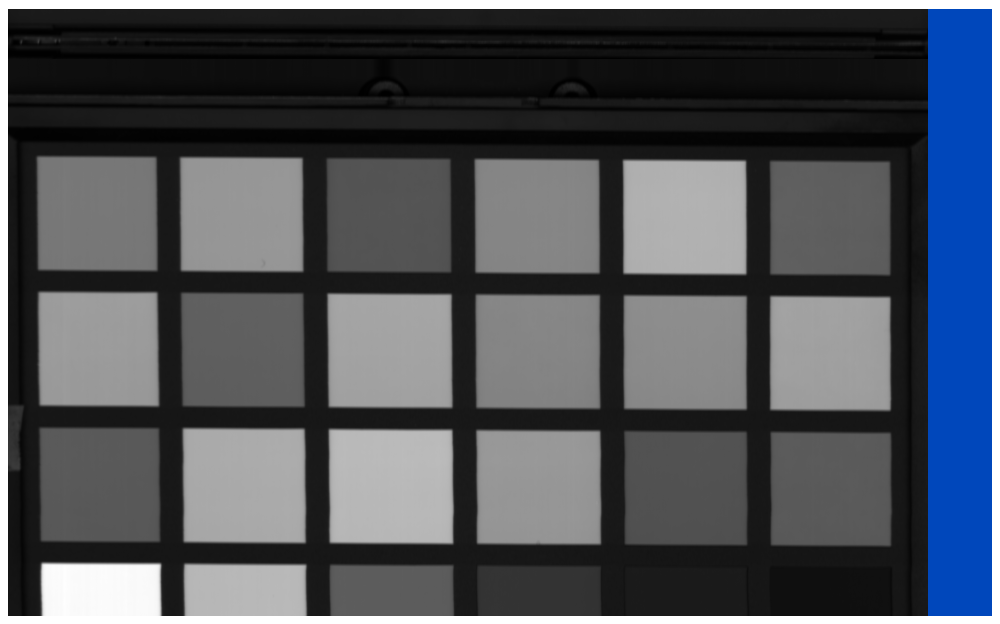
If the line from the camera is wider than the width of the waterfall view, the image is scaled to fit. The scaling happens proportionally, so that the pixel size is preserved.
If the line from the camera is smaller than the width of the waterfall view, the image will not be scaled by default, but have the actual width of the camera:
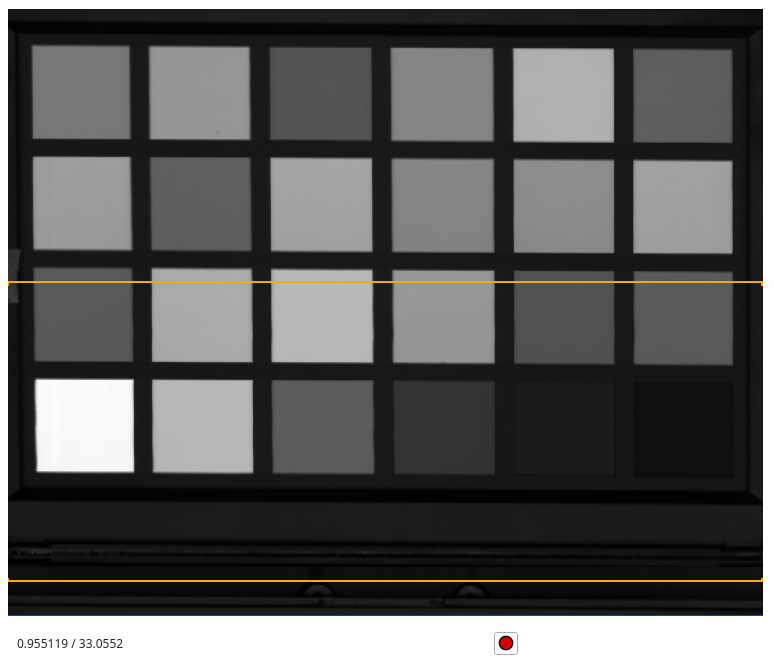
Below the waterfall view there is the record button. Clicking it will start a recording. A marker is inserted into the waterfall view to indicate where the recording has been started:
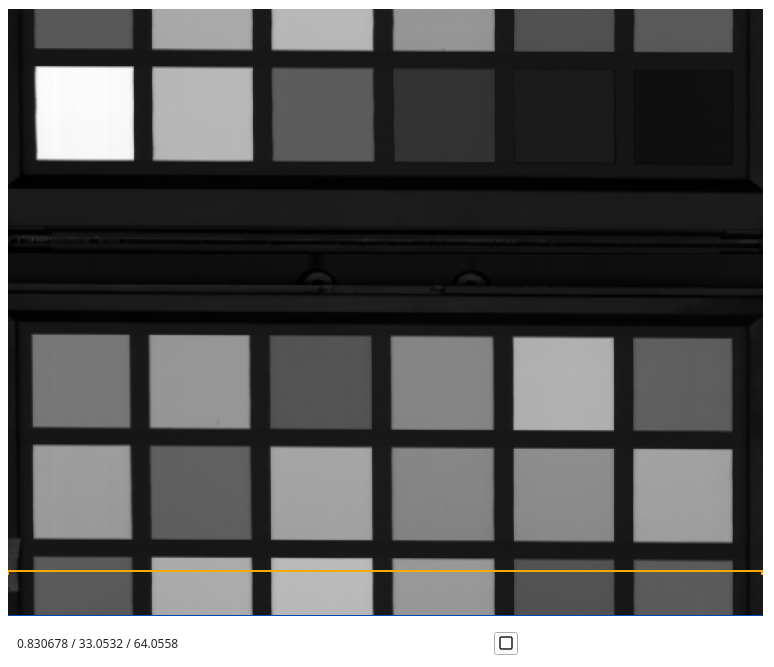
The record button has now also changed into a stop button. Clicking the stop button will end the recording, and a marker will again be inserted where the recording ended:
The recording has now been temporarily stored on disk and can be saved via the recording manager.
Performance Information
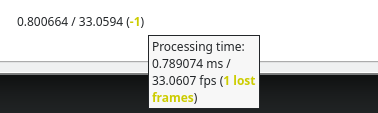
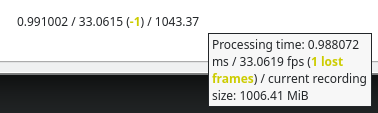
At the bottom left of the recording view, some performance information is displayed. If one hovers with the mouse above the indicator, after a couple of seconds a tooltip is displayed that explains the values of the indicator.
The following table describes the various different possible indicators:
Recording state |
Dropped frames? |
Performance indicator |
|---|---|---|
Idle |
no |
|
|
|
||
Active |
no |
|
|
|
||
Idle |
yes |
|
|
|
||
Active |
yes |
|
|
|


Motion Control Integration
This recording view integrates with one of the following types of motion control devices:
Y Axis
Pan/Tilt
Any other motion control devices will not directly interact with the recording procedure.
In general when a recording is started, the connected axis will begin movement until it has reached its end position (or the user stops the recording beforehand). Once fluxTrainer has reached the end of the motion control axis, the recording will stop automatically at that point.
Please refer to the motion control section for further details on how these interact with the recording functionality.
Note
If a XY table motion control device is connected, this recording view will not be available, and the 2D recording view will be available instead.
Recording Manager
After a recording has been made, the recording manager dock widget will change to indicate that a recording is present:
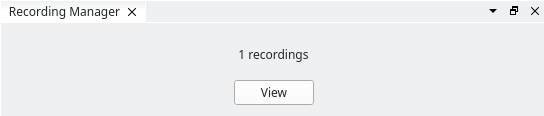
Clicking on the View button opens the recording manager:
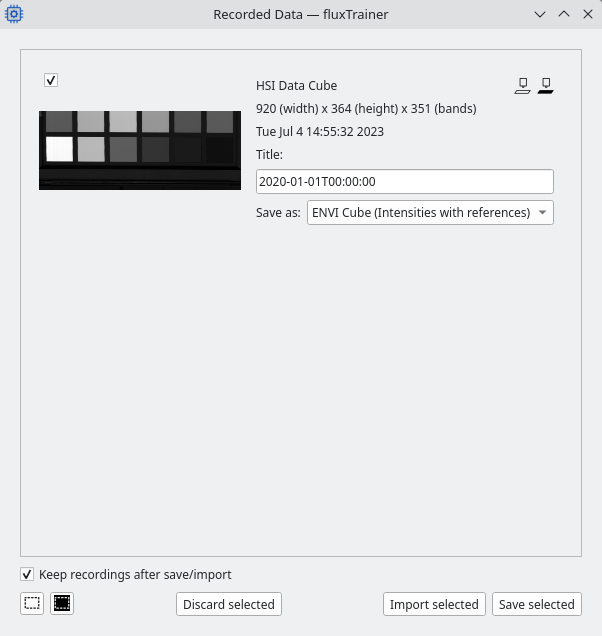
The recording manager consists of the recording list (filling most of the window), as well as some actions to do with the recordings.
Recording Entries
Each recording entry will have a check box to select and unselect the recording. By default all recordings are selected.
Directly behind the checkbox a preview image of the recording is shown.
To the right of the preview there is both some metadata of the recording shown, as well as the option of the user to configure some things related to this recording.
Metadata
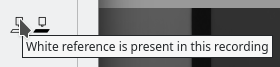
The first line of the metdata indicates what type of recording this is. For HSI cameras this will be typically be a HSI Data Cube. To the right are icons that are present if the recording contains reference measurements. Hover over the icons with the mouse to see what kind of reference measurement is present:
The second line contains the size of the recording.
The third line contains the date and time when the recording was made.
Recording Title
Below the metadata the user can change the title of the recording. The default title is the date and time when the recording was started.
The title of the recording will be stored in formats that support it, and will also be used as the file name to store the recording under.
Export Format
The final line of each recording entry contains a drop-down where the user can select which recording format to save the recording as.
Which formats are available depend on how the recording was made.
For HSI cubes the following formats are available:
ENVI Cube (Intensities only): Only the intensities of the measurement will be stored on disk. Any references that are present will be discarded.
Note
The data may not be the raw sensor intensities, as all correction algorithms specified by the driver will still be applied. This can include (but is not exclusive to) distortion corrections and radiometric corrections.
Also, HSI cubes will always be exported in the BIP storage order, regardless of the spectral orientation of the sensor.
ENVI Cube (Intensities with reference): The intensities of the measurement will be stored on disk, alongside any measured references, if present. Reference cubes will follow the naming scheme
filename_Whitefor the white reference, etc.This is the default format, because loading it in fluxTrainer allows the user to work in both intensities as well as reflectances.
ENVI Cube (Referenced data): The data will be converted to reflectances, and only those reflectances will be stored in the ENVI file.
HDF5 (Intensities): the intensity data from the camera will be stored in a HDF5 file.
This option exists for experts that want to be able to load HSI cubes recorded by fluxTrainer in generic data analysis software that doesn’t specifically support the ENVI format.
HDF5 (Referenced data): the data will be converted to reflectances, and only those reflectances will be stored in the HDF5 file.
This option exists for experts that want to be able to load HSI cubes recorded by fluxTrainer in generic data analysis software that doesn’t specifically support the ENVI format.
Selection Options
At the bottom left of the window there are two buttons. The left-most button will select all recordings. The button next to it will invert the current selection of recordings.
Discarding Recordings
In the middle of the row of buttons there is a button Discard selected. Clicking it will remove all recordings that are currently selected by the user. A prompt will appear before all recordings have been discarded.
Importing Recordings into fluxTrainer
The Import selected button will attempt to import all selected recordings as HSI cubes into fluxTrainer’s data viewer. The title specified by the user can be used to distinguish the each cube in the data viewer.
By default all cubes that have been imported into fluxTrainer are removed from the recording manager. However, it is possible to select the Keep recordings after save/import checkbox directly above the button bar. In that case fluxTrainer will import the recordings, but still keep them in the recording manager.
The format that the user has selected for each cube will be ignored for this operation.
Saving Recordings to Disc
The Save selected button will attempt to save all recordings on disk in the recordings as HSI cubes into fluxTrainer’s data viewer. The title specified by the user can be used to distinguish the each cube in the data viewer.
By default all cubes that have been saved are removed from the recording manager. However, it is possible to select the Keep recordings after save/import checkbox directly above the button bar. In that case fluxTrainer will save the recordings, but still keep them in the recording manager.
Clicking on the button will open a window where the user must select a directory where to save the recordings in. By default the recording directory in the settings is shown. The names assigned to the recordings will also be used as the file names for the recordings. The file name extension will be added automatically depending on the selected format.
Manual Acquisition Mode
If the setting Automatically acquire data when instrument view is open is disabled, then an additional button is shown next to the recording button, and the acquisition does not automatically start:

Clicking on the Play button will start acquisition and change to a Stop button that stops acquisition again. Any time acquisition is started the view is reset and the waterfall begins again.
Clicking on the Record button while acquisition is active will begin a recording at that point (similar to when the automatic acquisition mode is active). However, when the recording ends (for example by clicking one of the Stop buttons), the acquisition also stops at that point.
Clicking on the Record button while acquisition is not active will start both acquisition and the new recording at the same time.