Processing Chain
The Processing Chain tab is used to define the data flow in the model. The input data starts at the Source (there is always exactly one Source in the model) and then propagates according to the graph the user has constructed.
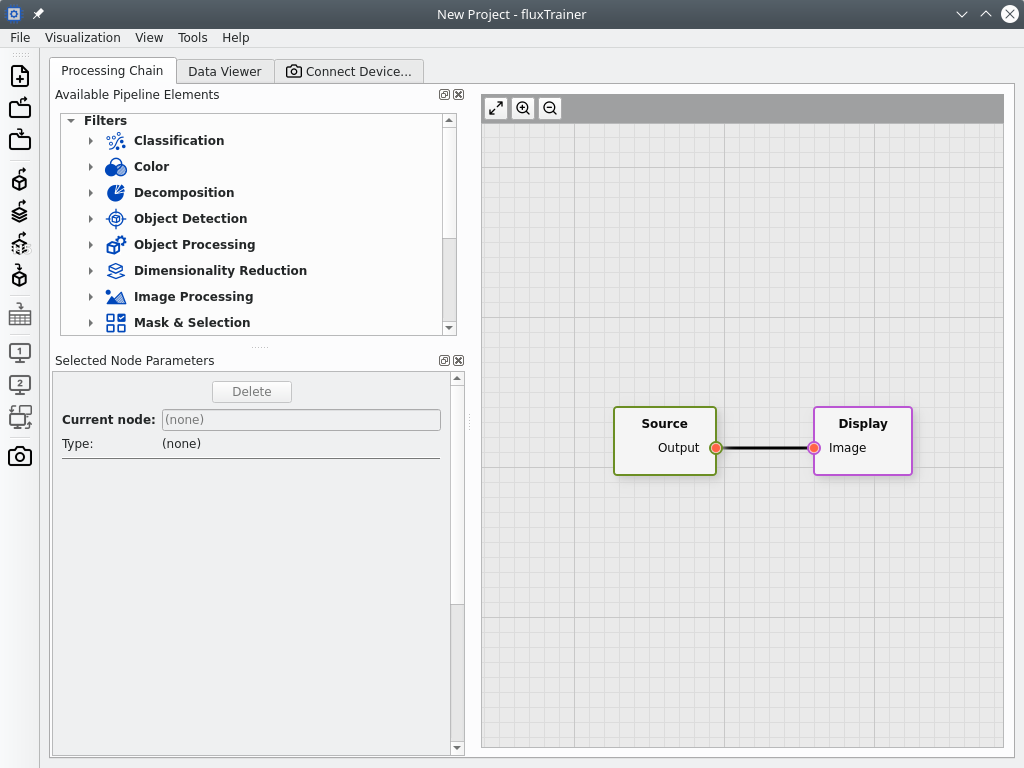
It is divided into three main regions.
The Available Processing Elements dock widget (by default on the top left) shows a tree of all nodes that can be added to a project:
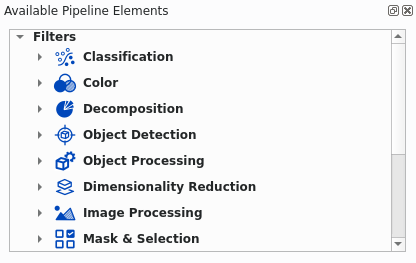
Note
The exact list of available nodes will depend on the license of fluxTrainer.
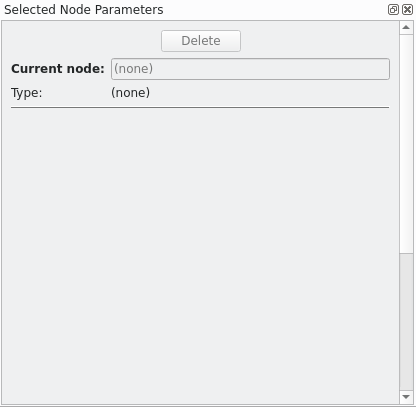
The Selected Node Parameters dock widgets (by default on the bottom left) will show which node is currently selected (if any), allow the user to change the name of the selected node, and change the parameters of the node:
Finally, the main area of the tab is where the graph is shown and edited:
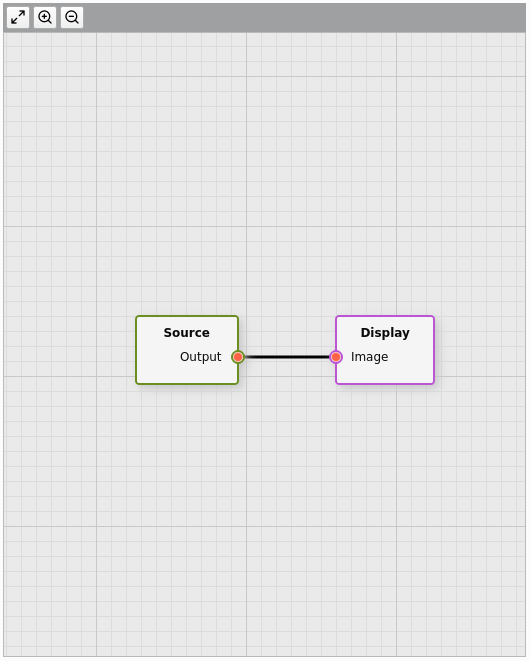
The three buttons at the top have the following functions:
Fit in View: adjusts the zoom and scroll of the graph area so that the entire graph of the model fits in the view
Zoom In: zooms into the view
The user can also pan/scroll the view by pressing the left mouse button in an empty area (with no node) and dragging the mouse while the button is pressed.
The user can also change the zoom state of the view by using the mouse wheel to zoom in and out.
Nodes in the view can be moved by pressing the left mouse button while over a node and dragging the node while the mouse button is pressed.