Debugging
In the Help menu there is an option Debugging…. This allows the user to generate output that can be sent to LuxFlux for analysis if a problem occurs.
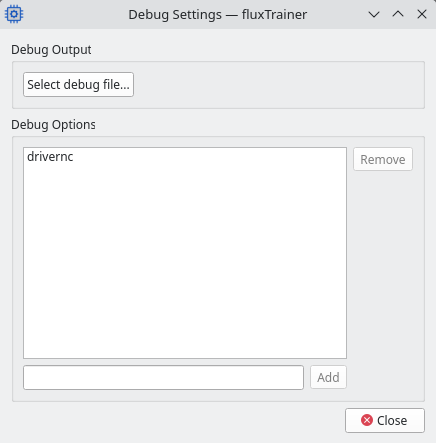
After selecting that menu item, the following screen will appear:
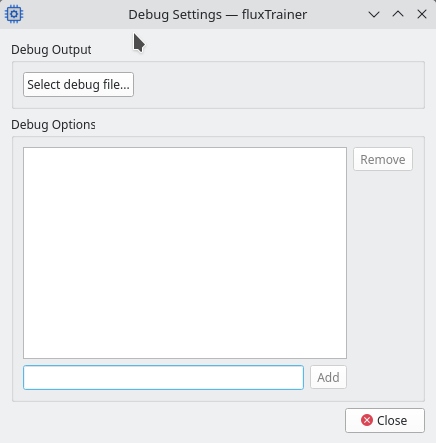
Debug File
Click the Select debug file button in this window. It will ask for the name of a file where the debug information is to be stored in.
Once the file has been selected, it will be opened by fluxTrainer. It will only be closed once fluxTrainer exits.
If there is an issue and you were asked to provide debug output, please email the file back to LuxFlux support once the error has occurred again with the debug file selected and the corresponding debug options active.
Debug Options
In order for fluxTrainer to actually produce debug output, one needs to enable debug options. This can be done in the lower part of the window.
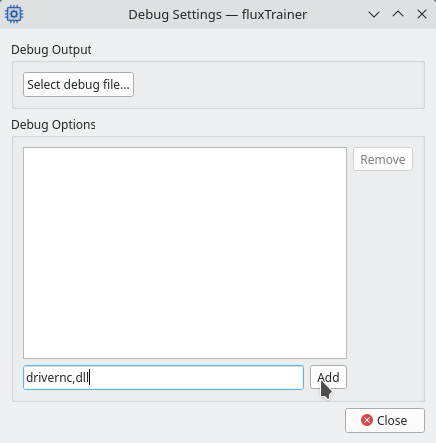
To add new debug options enter a comma-separated list of options into the edit field, and then press add.
For example, to enable the debug options drivernc and dll,
enter the text drivernc,dll into the field and press the Add
button:
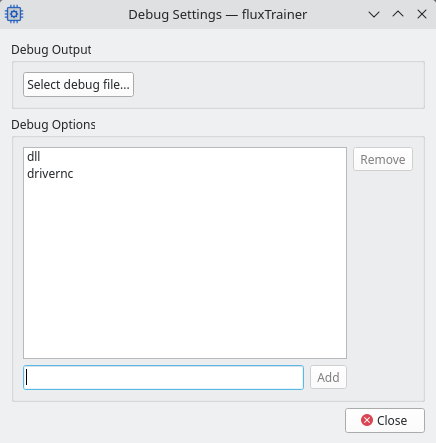
After pressing the Add button the options will be shown in the list of active options:
It is also possible to disable a debug option again by selecting it from the list and clicking the Remove button:
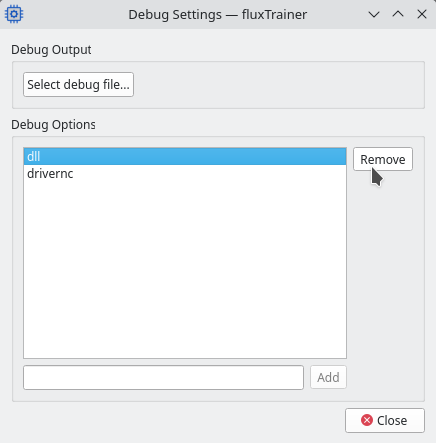
Which debug options to set in order to debug specific errors will be provided by LuxFlux support.